")
")

After completing the floor of the main room it was time to tackle the bathroom.
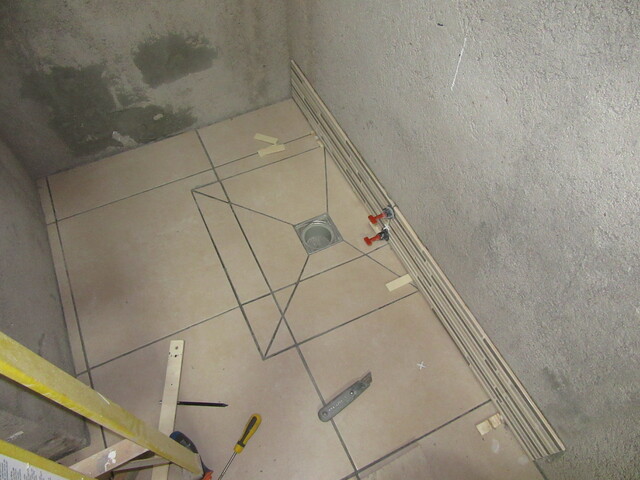
Not a large area but there is the shower space to deal with and then the walls.
Our decision not to have a shower 'base' but rather a shower space was based on two factors. Firstly, it is more modern, and more importantly, the builders made the bathroom about 10cm narrower than the plan specified so a standard 90cm pan would not fit into the space. The shower drain is fixed in position and depth within the concrete floor so this is the reference point I had to work to.
Cutting the tiles to accommodate the slope to the drain and making it seem deliberate was a challenge but with only a couple of failures the final outcome is not too shabby.
The rest of the floor is not very interesting.
The walls in the bathroom are however worth a look.
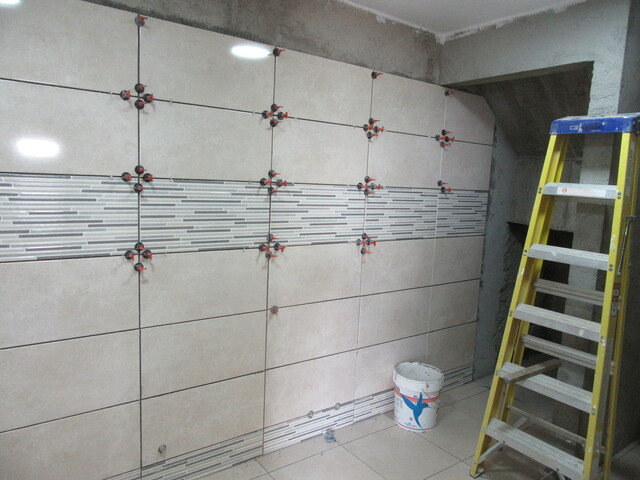
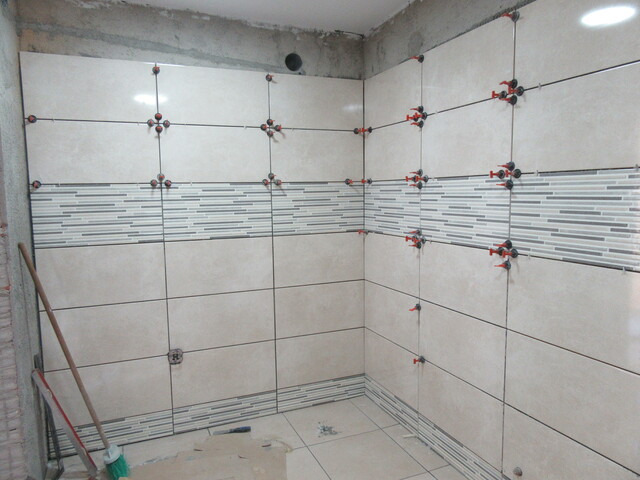
Using the pattern tile to break up the wall seems to give the room a little extra space.
In a stroke of genius, I used some of the pattern tiles and cut them to make a 'roda-pé'. Being slightly smaller than half the tile height makes the rest of the tiles fit neatly so that I have only to cut about 1cm from the top tile to give the effect that the border is neatly in the centre.
And in the shower cubicle, it doesn't look too bad.
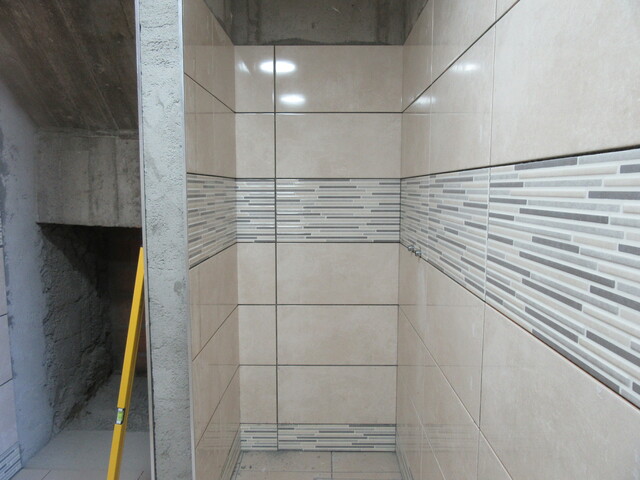
Another ½ day of tiling and then it should be ready for the grout.