")
")

In the spirit of my DIY policy, because I like to do everything if possible and because I lack contacts for some types of work, I bought a small welding machine quite some time ago.
I repaired my office chair with it and did a few practice runs on scrap metal found in the workshop but it has been waiting for a proper trial.
Having completed a number of the jobs around the house I found that I had a little more 'free' time and decided to put the welder to use.
With some quick designs drawn up for a garden gate, and two metal frame doors to close up the gas cupboard, and the kitchen loft space respectively, I went to Fundaço for some steel stock and wire mesh.
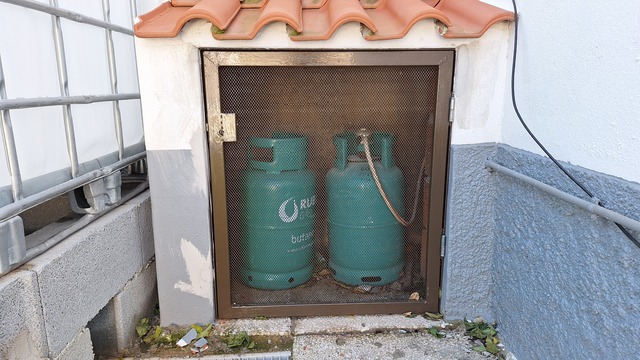
The first project was the smaller of the three, the gas cupboard door. I needed a frame made from 25mm angle iron which was pretty easy. Then I had to make the door itself, a rectangle of 40mm x 20mm box section drawn steel. I decided that mitred corners would be the best option and cutting the material with a small hand-held angle grinder was not too difficult. With the metal prepared, cleaned and held in place with magnet clamps I set about the welding.
The welder is a dual mode device which can operate with either stick electrode or MIG type welding methods. I chose the MIG setting be cause it appeared to be easier.
The work did not quite go as planned, the metal is thinner than my practice pieces and all too easily I put holes into the joints. Time to look up some tips.
A couple of hours of Youtube videos gave me a lot of information on how to make my welding better.
The obvious first step was to do more practicing with the same materials as the work. This worked well and I learned more about the settings of the welder.
Eventually, I had the basic door frame together, with good right angle corners. I managed to fill the holes made previously by carefully welding over the existing welds. I wasn't very pretty but at least it was solid and an hour of grinding tidied up the joints to an acceptable appearance.
Next, I needed to add a lock. For that I had to patch in a support piece to mount the lock, Slightly awkward but manageable. Finally the hinges had to be fixed, this was the part that could ruin everything, how to weld the hinges onto the frame without deforming or destroying the hinge barrels. With care, using light, short tack welds, it all worked.
Next, the challenge of aligning the hinges to the outer frame and maintain the clearance to allow the door to close. One hinge was perfect but the second was far out of alignment and had to be removed and redone.
The last part of my welding crash course was to affix the fine pressed steel mesh to the back of the door. It was difficult, very difficult! The machine would not turn down to a low enough power and the mesh was vaporised almost straight away when I tried to tack it in place. Eventually, I learned how to start the weld and then push it onto the mesh without causing too much damage. Success 😃
Here is the finished project after a good cleaning and a few coats of paint.
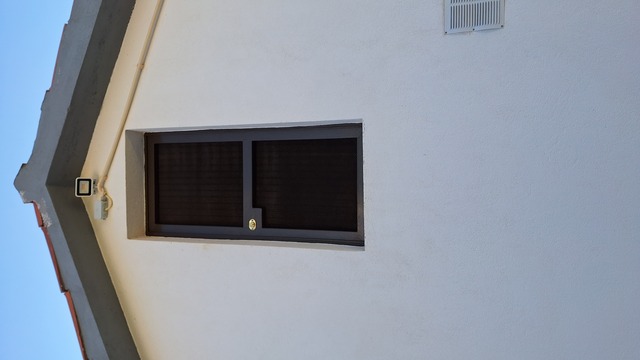
The second task was to create a door to close the kitchen loft area. It is not so much for security, because it needs a ladder to get into the opening, but preventing the birds from nesting in there means less cleaning up the mess and, of course, we could store some more valuable items if necessary.
The basic idea is the same as the previous effort but with a centre bar and a more substantial lock.
This time, with all my experience behind me, it worked really well. and there were fewer mistakes.
There is an existing metal frame in the wall which made life easier and with the welding machine being portable it was easy to weld the hinges in place.
Another success.